
How to Test Signup Emails with a Temporary Inbox
Use Temporarly for manual signup and verification email QA. Follow a practical checklist with desktop and mobile screenshots, plus when Plus or Pro helps.
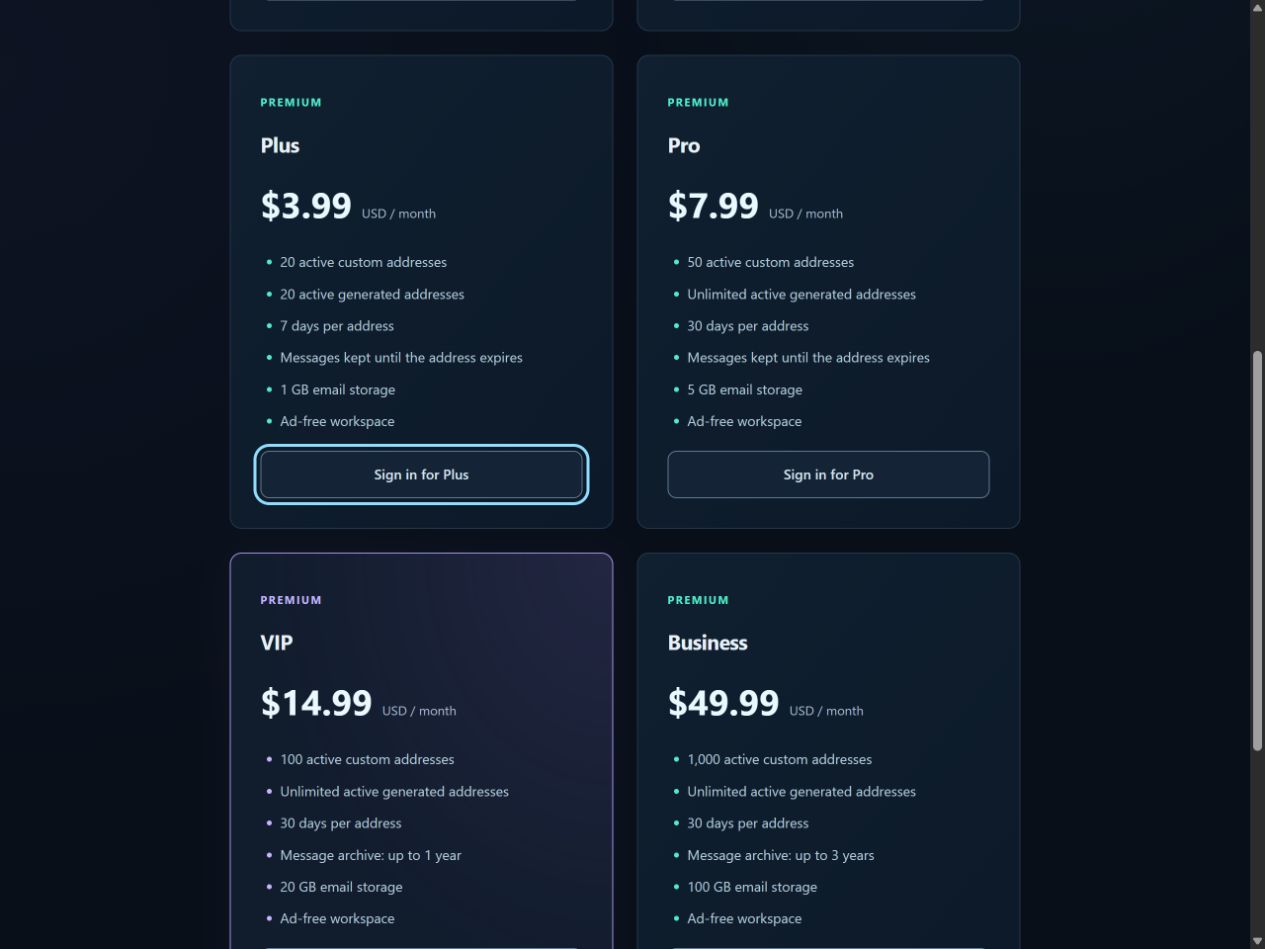
Quick answer: Create a fresh temporary inbox, use it in a test account on an app you own, trigger one signup email, and check the recipient, content and verification destination. Repeat with separate addresses when you need to compare test cases.
This is a manual browser testing workflow for developers, QA testers and small product teams. It does not require or promise a Temporarly API, automated test integration or guaranteed delivery from another service.
1. Define one test case before creating the address
Write down the environment, trigger and expected result. For example: “A new test user signs up in staging, receives one welcome email, and the verification link opens our staging app.” Use sample data and your own application, not another company's accounts or sensitive customer information.
A fresh address makes it easier to distinguish a new signup from a returning-user flow. Keep the address paired with its test case in your QA notes.
2. Choose generated or custom temporary email
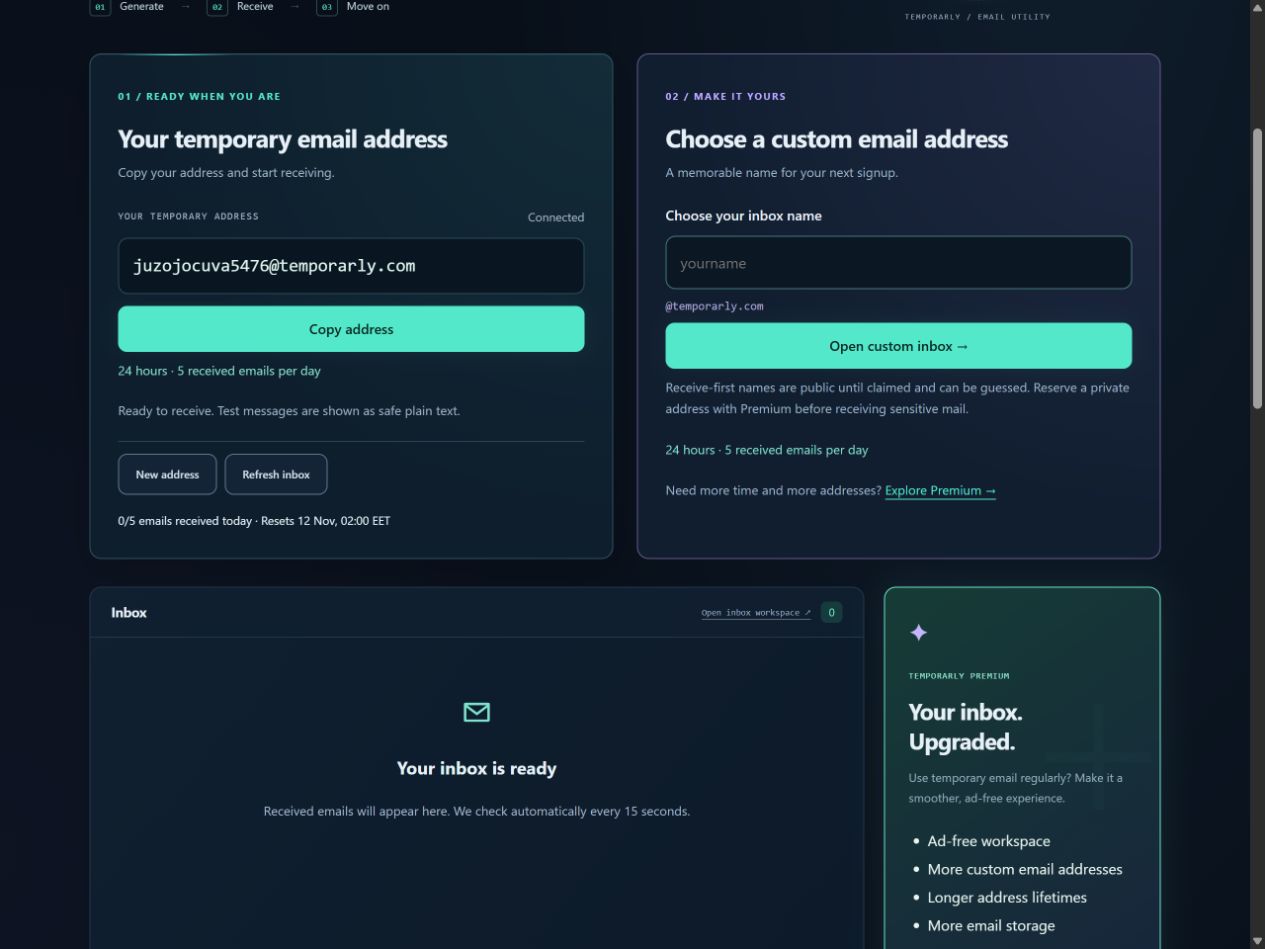
A generated address is fastest: open Temporarly and copy the connected address. A custom name is helpful when you want a memorable project label. Claim it before sending; an unclaimed receive-first name is not private.
Testing from a phone
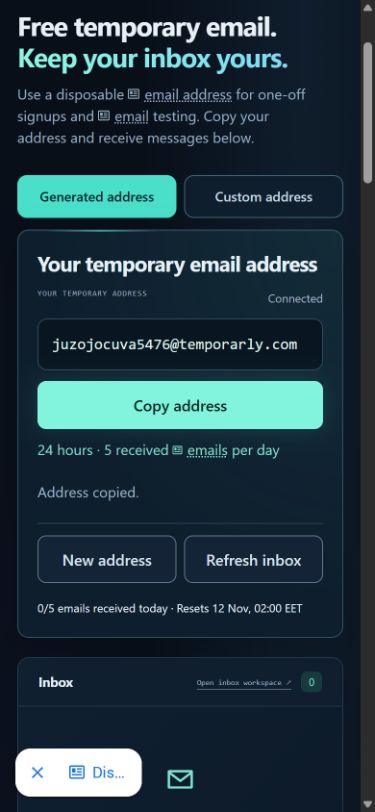
Use the Generated address or Custom address selector. Copy the full address into your staging signup form, then return to the same browser session.
3. Trigger one email and inspect the result
Submit the test signup once. When its email arrives, check the following against the case you wrote down:
- Recipient: it matches the selected temporary address exactly.
- Count: one action produced the expected number of messages, without duplicates.
- Content: subject, sender and instructions identify the right app and environment.
- Destination: the verification link opens the intended environment, not an old dashboard or production by mistake.
- Outcome: the app confirms verification and opens the expected signed-in screen.
Our screenshots show the inbox controls, not a fabricated delivered message. Test actual delivery with your own staging app. Safe plain-text display is useful for inspecting content, but it does not replace checking HTML layout in Gmail, Outlook or another real email client.
4. Test repeat actions and failure states
Request a resend deliberately and record whether the previous link remains valid according to your application's policy. After successful verification, try the used link again. For password reset, check the fresh link, expiry and rejection after use without changing a real user's credentials.
Separate transport failures from application failures: an empty inbox alone does not show whether the sender generated, queued or delivered the email. Compare your app's logs with the exact recipient and time.
When Plus or Pro helps a testing workflow
Start free for a quick manual check. Longer test cycles may outlast a 24-hour inbox. Choose a plan for the duration, address count and storage you actually need.
- Plus: currently 20 custom and 20 generated active addresses, seven days per address, 1 GB storage and an ad-free workspace.
- Pro: currently 50 custom addresses, unlimited active generated addresses subject to storage and abuse safeguards, 30 days per address, 5 GB storage and an ad-free workspace.
Pro on mobile
The mobile plan card shows the price and allowances before sign-in. Pro is useful when you need a larger set of test addresses for a month; it is unnecessary if a short free test covers the job.
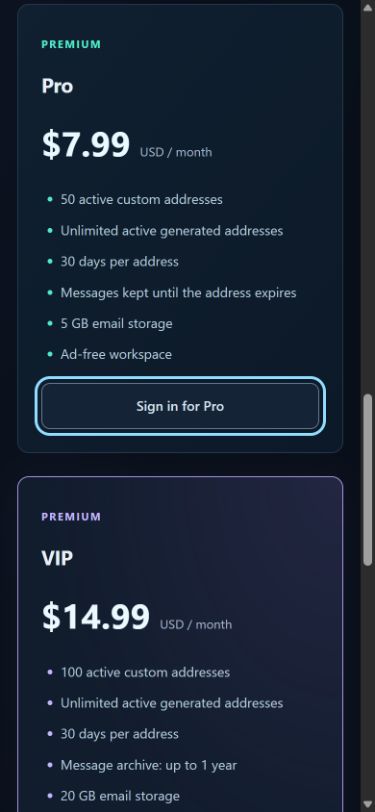
Check current pricing and plan terms before subscribing. Paid addresses still expire. Pro does not provide permanent storage; longer archives belong to eligible VIP and Business plans and require active subscription access.
A compact checklist for your next release
- Fresh test address created and recorded.
- One signup triggered, correct recipient checked.
- Expected message count and content confirmed.
- Verification destination and signed-in screen checked.
- Resend, used-link and expiry behaviour checked.
- Mobile flow checked separately from desktop.
For the exact inbox controls, follow the generated-address guide or the custom-inbox guide.